 Largo Garage Floor Epoxy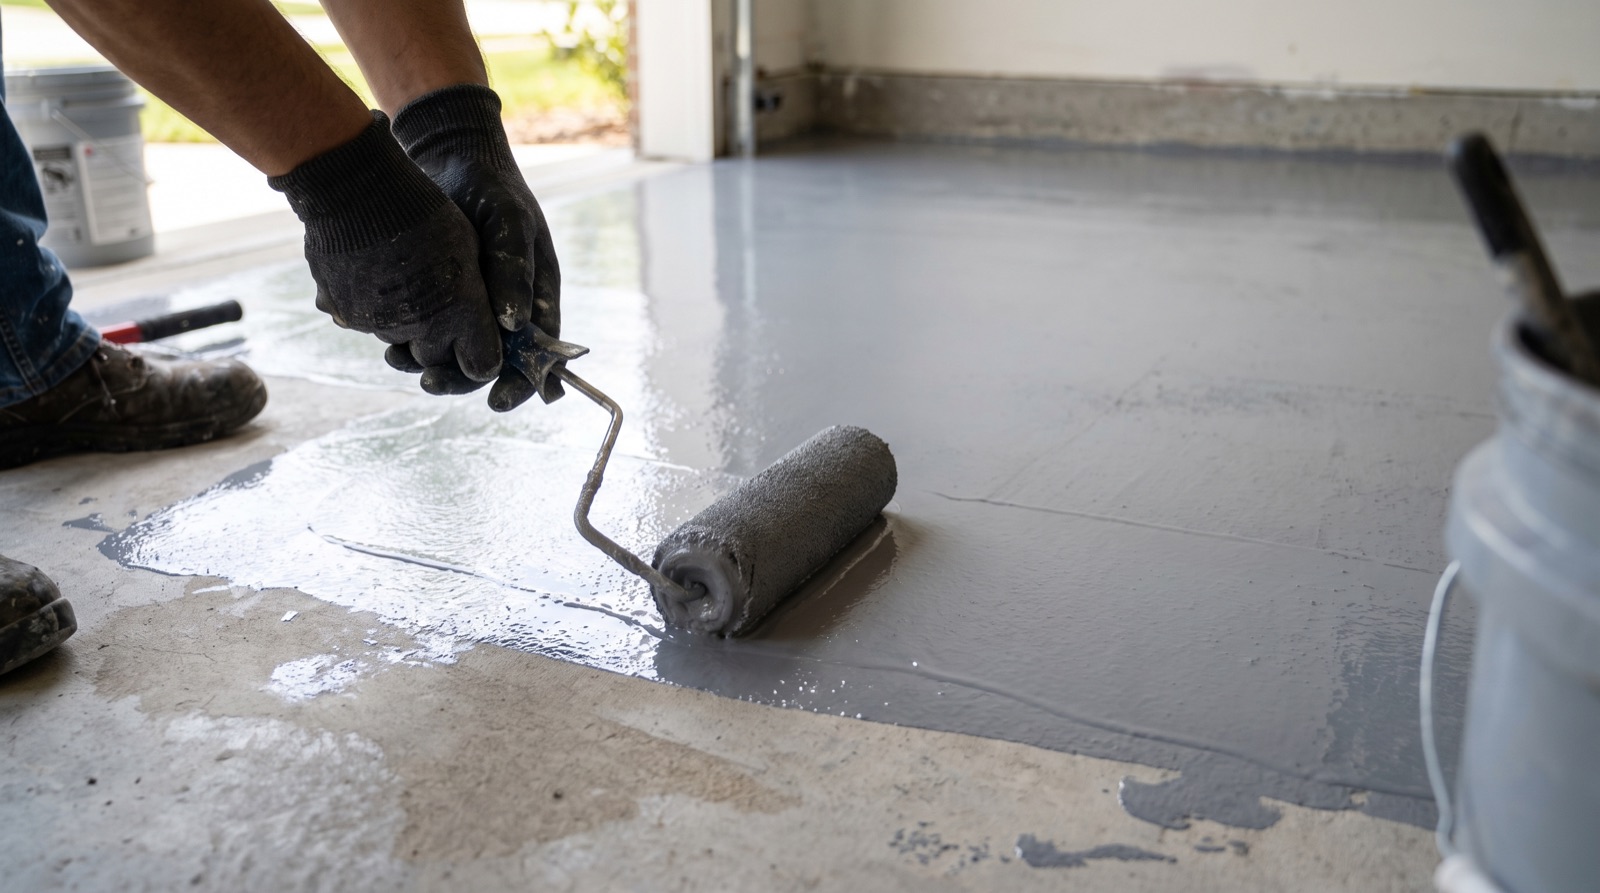
General Overview
The Installation Process
- Surface Preparation
The floor is cleared and inspected for cracks, oil stains, and moisture issues. Any cracks or pits are typically repaired before coating so the surface is stable and even.
- Etching or Mechanical Grinding
Concrete needs a rough, clean profile for epoxy to bond properly. This is usually done with an acid etch or, more commonly on quality jobs, mechanical diamond grinding, which also removes old sealers or coatings.
- Base Coat Application
The epoxy base coat is mixed and rolled or squeegeed onto the prepared concrete. This layer is what bonds to the slab and forms the foundation of the finished floor.
- Decorative Flakes (Optional)
While the base coat is still wet, decorative color flakes can be broadcast across the surface for texture, color variation, and added slip resistance.
- Top Coat
A clear top coat — often polyurethane or polyaspartic — is applied over the base coat and any flakes. This layer adds UV resistance, chemical resistance, and gloss, and protects the coating underneath.
- Cure Time
Epoxy and polyaspartic systems each cure on different timelines. Floors are generally walkable within a day or two but should be kept free of vehicles and heavy loads until fully cured, which can take longer. Ask your installer for the specific cure schedule for the products they use.
Next Step
Considering Epoxy for Your Garage?
Note: this is general industry information about how garage floor epoxy is typically installed. It is not a description of a specific crew's process. Any professional you hire can walk you through the exact products and steps they use.
Request a Free Quote